
Viz Pilot Edge User Guide
Version 2.1 | Published May 07, 2021 ©
Find Graphics
This section covers the following topics:
Searching for Graphics, Templates and Data Elements
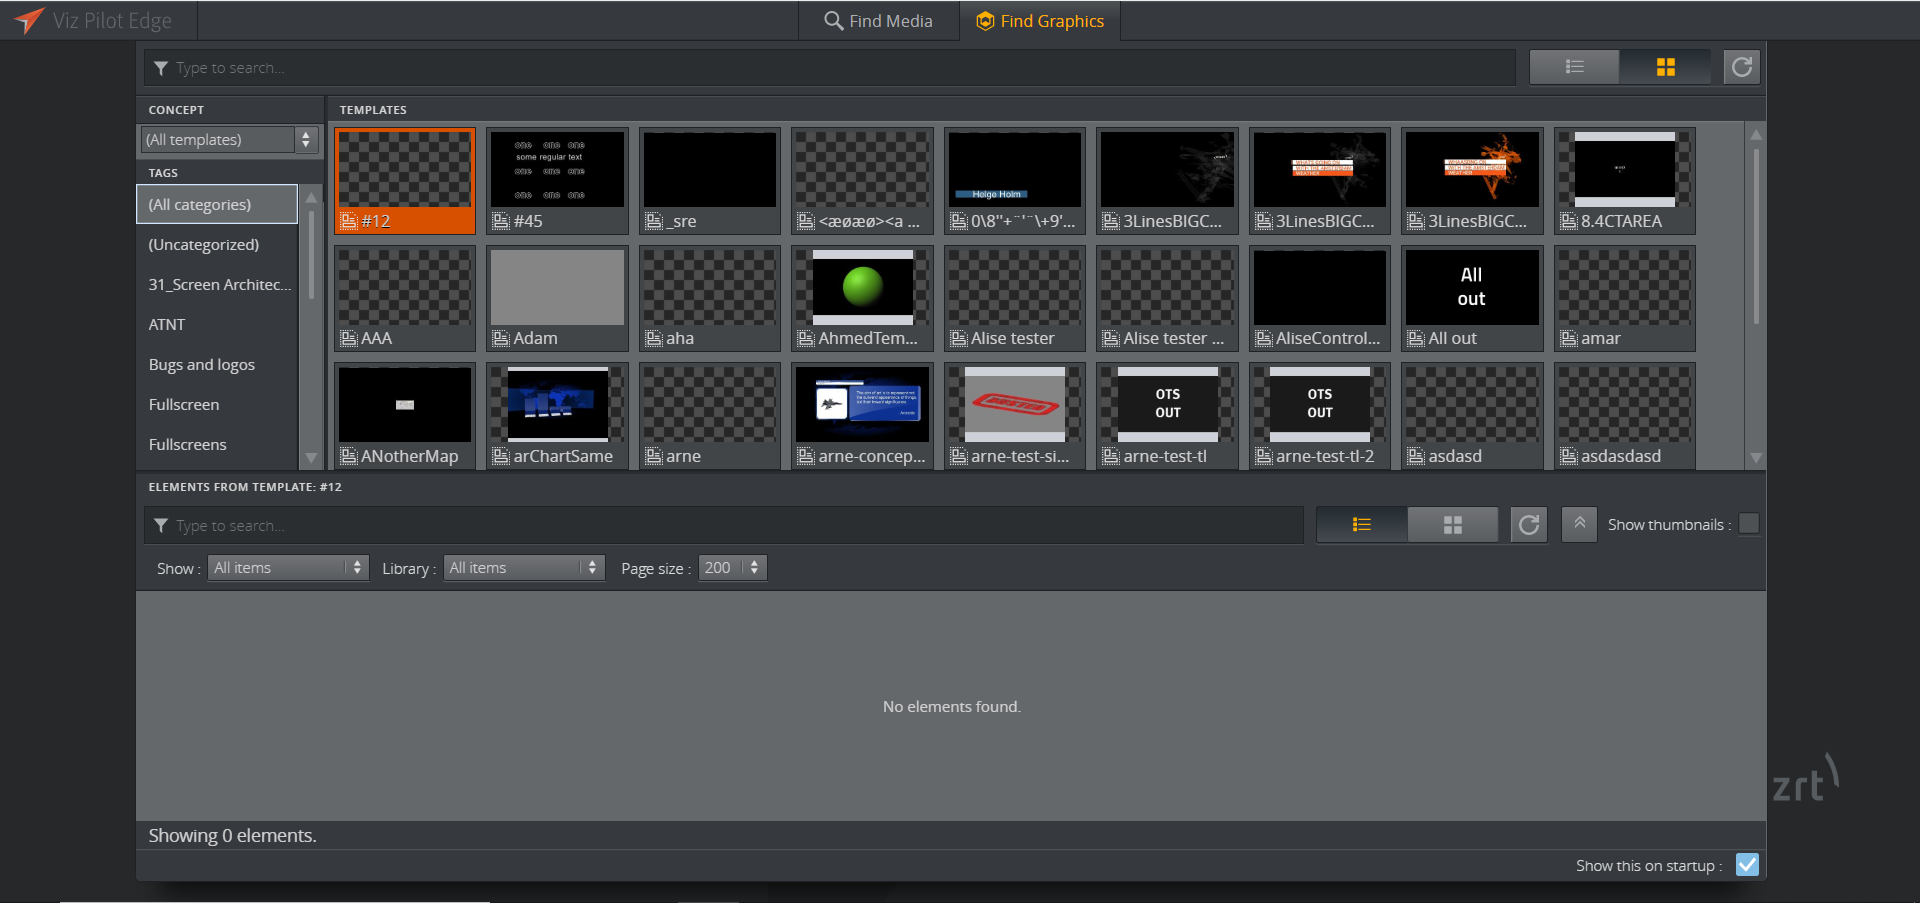
Click Find Graphics on the welcome page to open a dialog where you can search for available templates and saved data elements.
The TEMPLATES pane in the top shows available templates based on the CONCEPT and TAG selected and/or search terms entered.
Info: Data elements are previously saved templates available in the Pilot Data Server.
Data elements are located at the bottom of the dialog and are based on the CONCEPT, TAG and TEMPLATE selected and/or search terms entered. Data elements in the library are marked orange, as shown in the screenshot below.
-
Double-click a template or data element to open it in a new window, where you can add more content, edit the existing content, or use the content as-is.
Searching for Data Elements
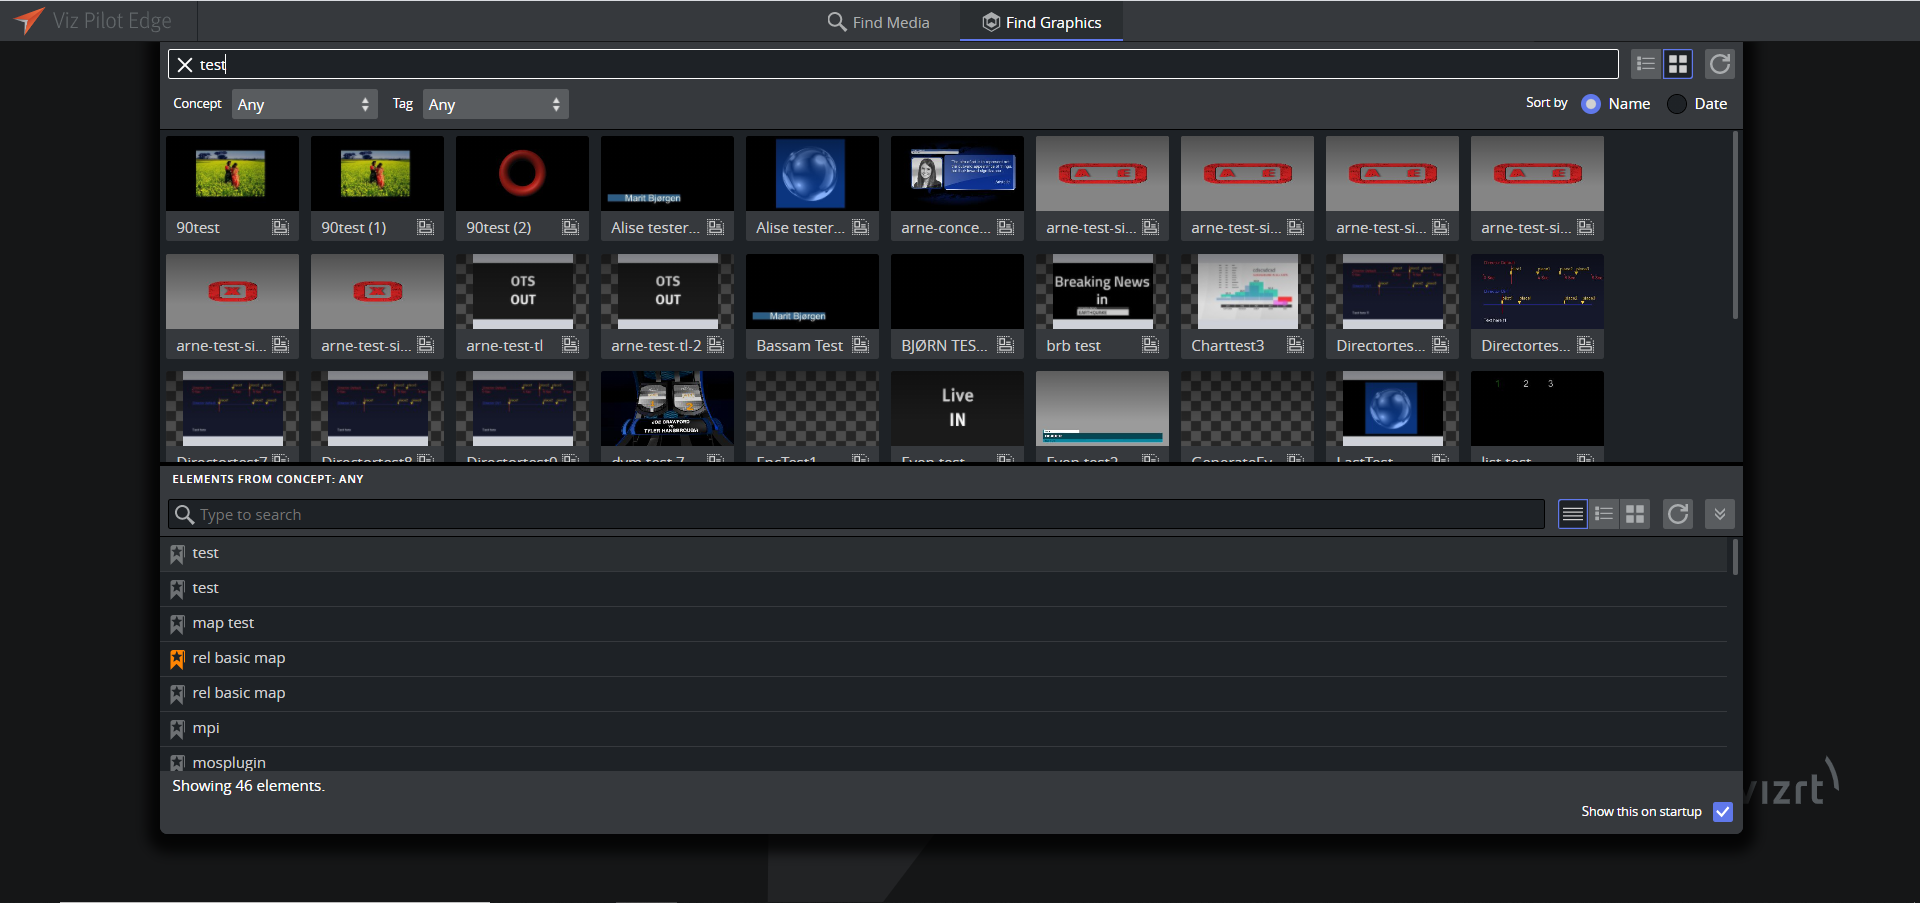
To find a data element, enter a term in the search bar at the middle of the page. Click the expand button at the right of the panel to filter results by:
-
Show: time and date created
-
Library: library, non-library or all items
-
Page size: select how many element search results are shown
Click Show more to load more search results when you get to the end of the list.
Note: It's not possible to see whether a data element is in its original saved state. For example, if you edit a data element and change it back to its original saved state, the save button will remain active even though no new changes have been made to the element.
Adding Content to Templates and Data Elements
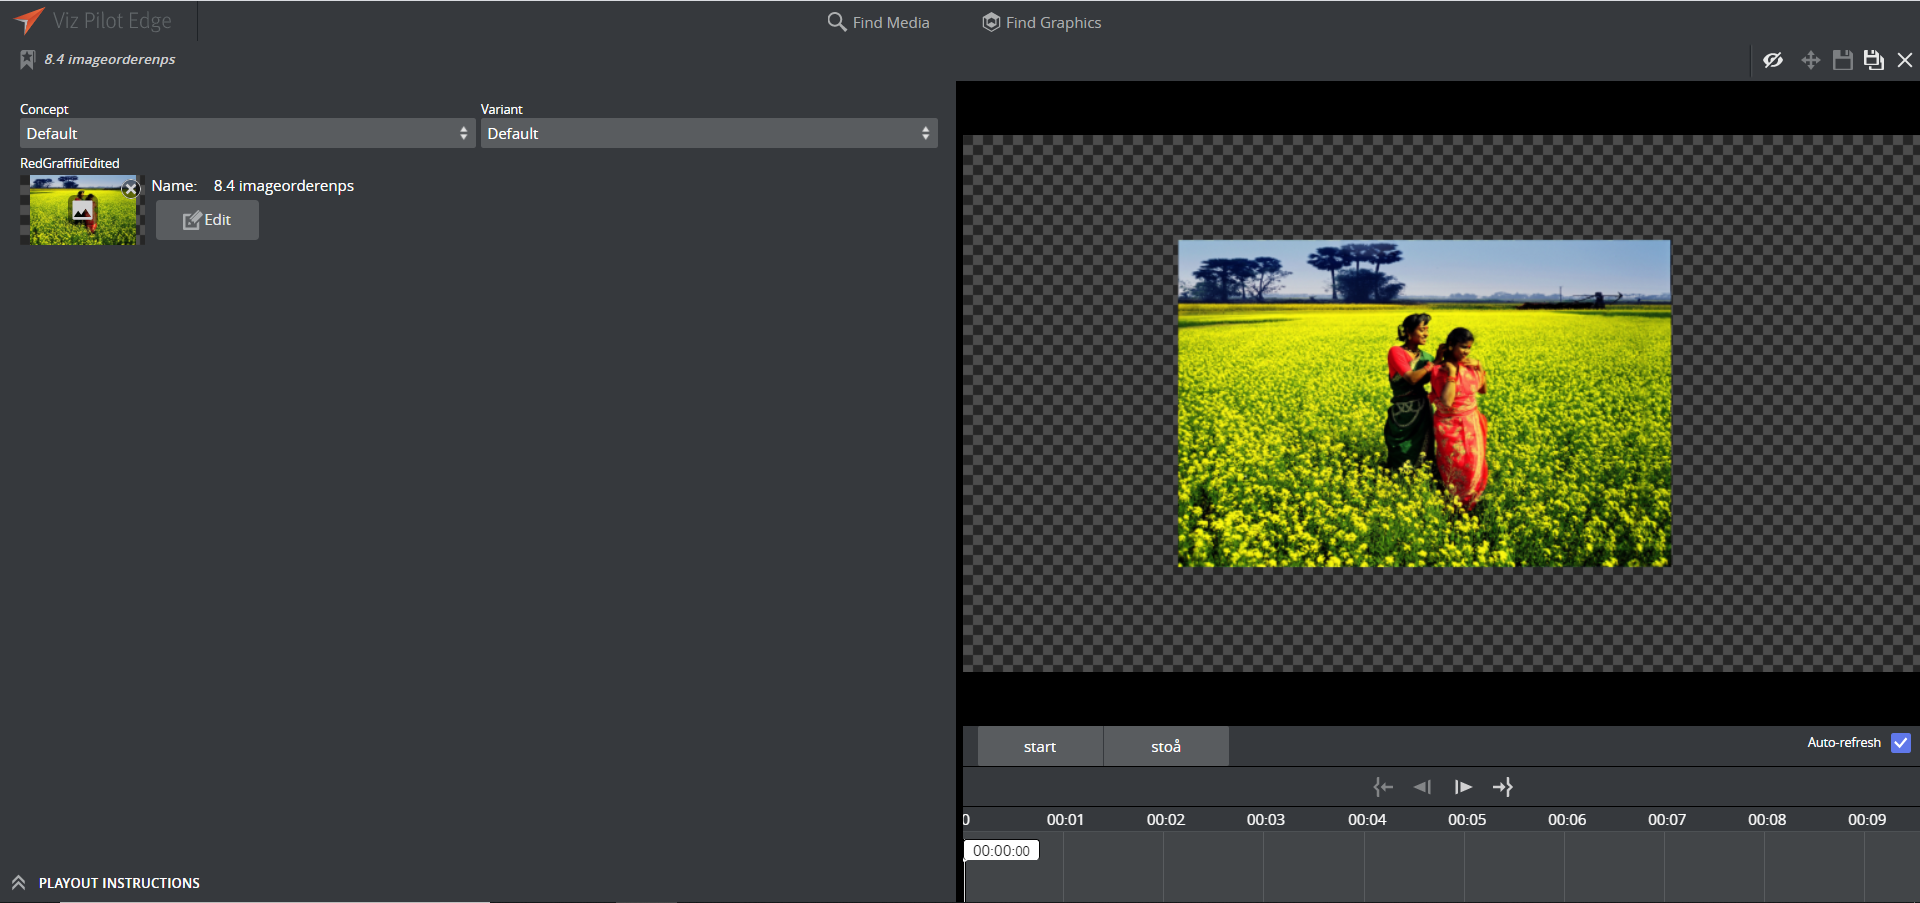
Double-clicking a template or data element will open it in a new window consisting of two main parts - the Fill In Form (left) and the Preview Window (right), see the screenshot below. Content can be added and edited on the left, while a preview will load on the right every time you make a change.
The Fill In Form
The window to the left is a Fill In Form for graphics. The form contains fields (set in Viz Artist) where you can add content to the graphic, including text, options in a drop-down list or media placeholders for media assets found in the Find Media tab. If Auto-refresh is enabled, the Preview Window will instantly display changes made in the Fill In Form.
Playout Instructions
Playout Instructions are located at the bottom of the Fill In Form. The In and Out fields specify the start and end time for the graphic relative to the rundown of which the element will be a part.
Saving Templates
Click the Save as button  to save a template as a data element. Type in the name of the new data element in the dialog that appears. Once the template is saved as a data element, its name will appear at the top of the Fill In Form.
Use the Save button  to save any changes to an existing data element that is currently open. A template must be saved as a data element before you can drag-and-drop it to the newsroom system using the Drag item to Newsroom button
  . This button is grayed out if the template is not saved.
WARNING: If the data element title is too long, it will be reduced to 128 characters in the MOS XML file, which will in turn affect the element title in the newsroom system.
Library Elements
The Save As dialog contains an Add to library option. Enable this option if a data element is frequently used and you want to prevent it from being changed or deleted by adding it to the library.
To overwrite a library element, select the Overwrite checkbox (only available for library elements), and click Save.
![]()
Send Item
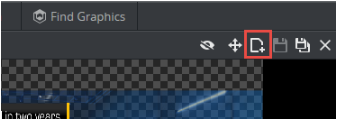
Some installations also feature a Send Item button (in the red square below) that can be used to send items to the rundown.
The Preview Window
Continuous snapshots of the graphics provide an indication of how they will look when played out in high resolution on a Viz Engine.
Click ![]() or the split bar separating the Preview Window and the Fill In Form to collapse the Preview Window:
or the split bar separating the Preview Window and the Fill In Form to collapse the Preview Window:
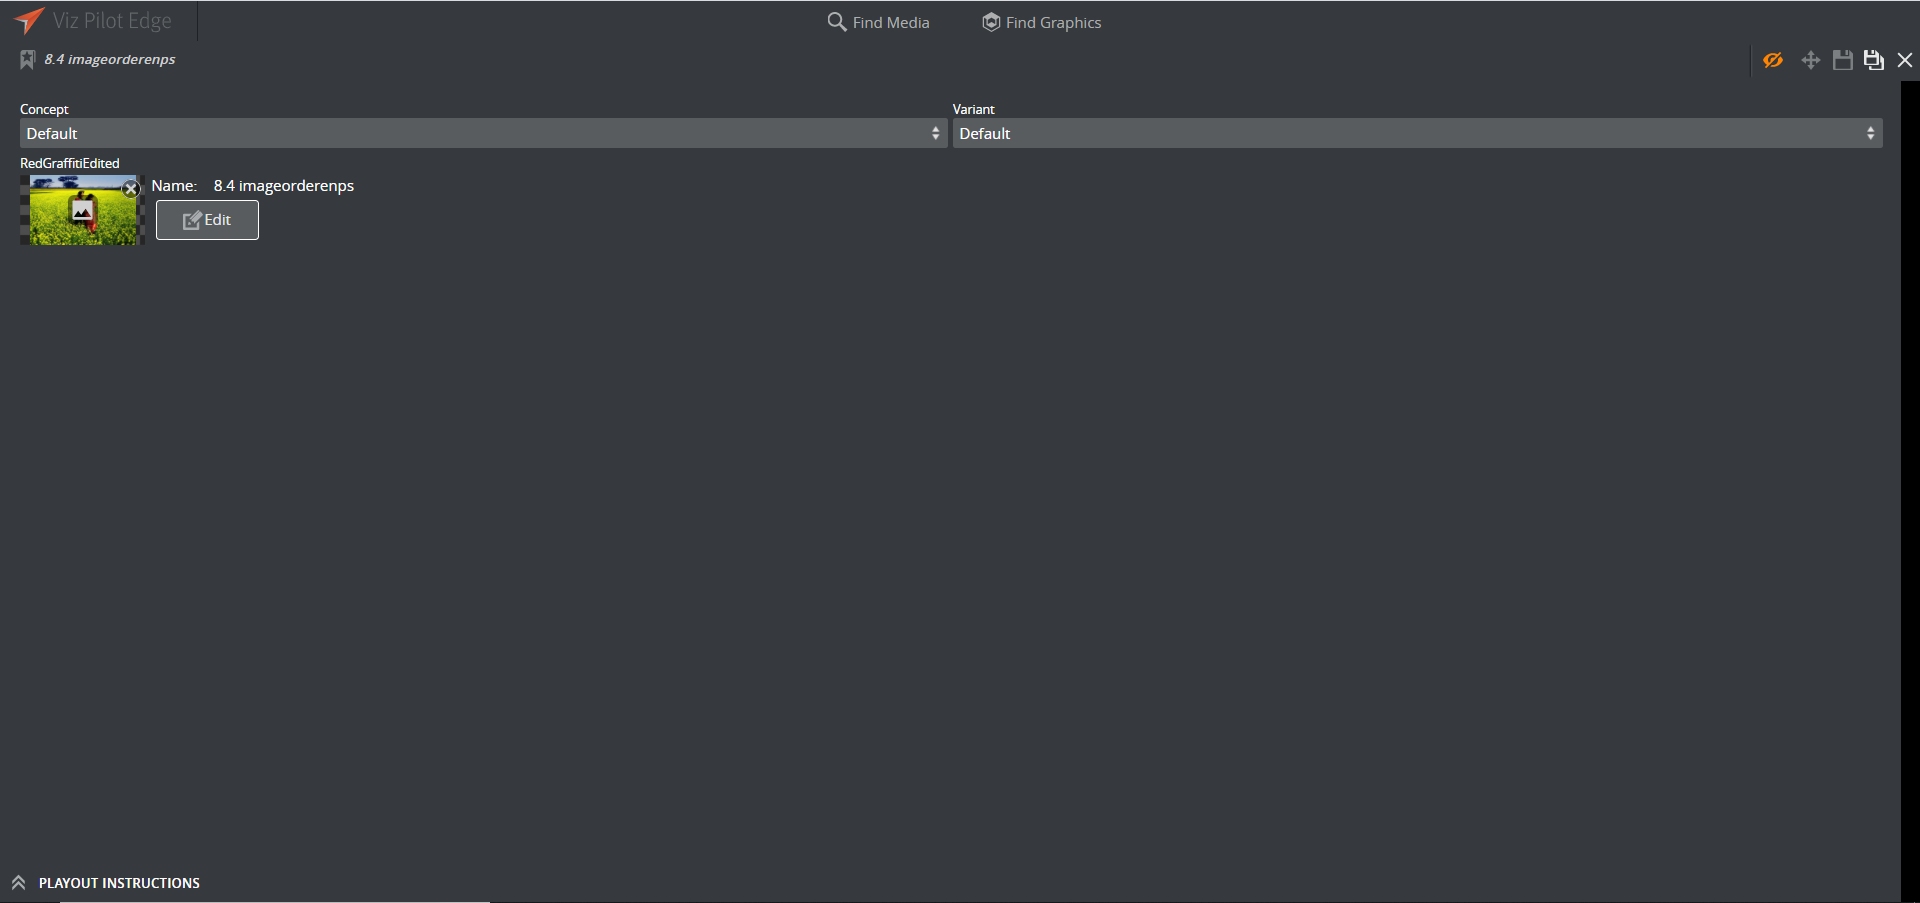
Click again to restore the Preview Window:
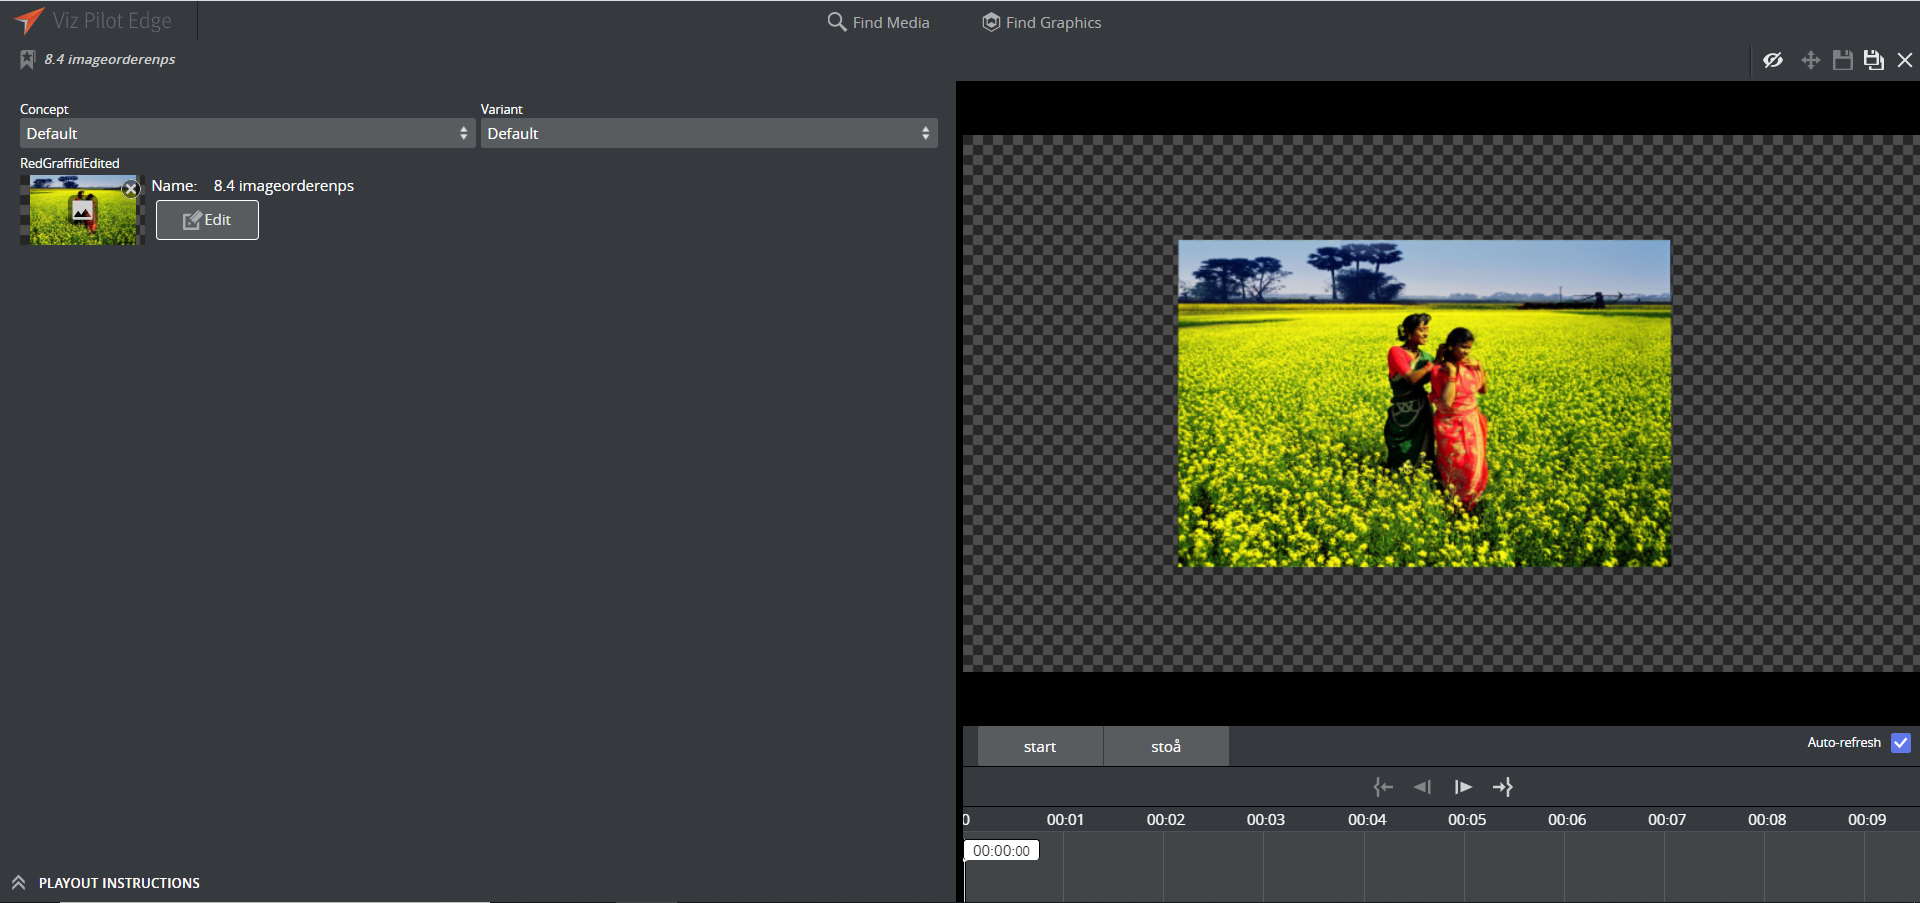
Adjusting the Graphics Preview
Use the toolbar at the bottom of the Preview Window:
-
Preview points: If the scene contains named preview points, such as stop points and/or tags in the Default director, these are shown as buttons on the toolbar. If there is not enough space for the buttons, they appear in a drop-down list instead. Selecting a preview point shows a preview of the scene at the given point, and the playhead jumps to the point in time where the preview point is set.
-
Scrub the timeline back and forth by clicking on it or moving the playhead. If the scene does not have a director called Default, or the Default director does not have a duration, the timeline will be disabled.
-
Auto-refresh: Auto-refresh is located at the bottom of the Preview Window and is enabled by default. This means that the Preview Window updates once there are any changes in the Fill In Form.
Disable Auto-refresh to turn this functionality off. To refresh the Preview Window in this mode click the Refresh button or click inside the Preview Window.